[ad_1]
Last Edited:
Welcome to the Tips and Tricks page for IGN’s Wiki Guide and Walkthrough for It Takes Two on Xbox One, Xbox Series X/S, PlayStation 4, PlayStation 5, and PC. Here, we’ll provide you with some tips and tricks specific to each level in the game.
It Takes Two features multiple levels, each with multiple chapters within, and virtually every level features new mechanics. Describing the game’s as genre as anything other than “co-op” would be tough because this game encompasses many genres. There’s shooting, platforming, swinging, puzzles, and more.
As such, it can be tough keeping up with everything going on in the game. It’s in those moments that you might be looking for some tips and tricks to help nudge you along. Fortunately, you’re in the right place.
Please click or tap the links below to jump to the tips and tricks for each level in It Takes Two:
General Tips and Tricks
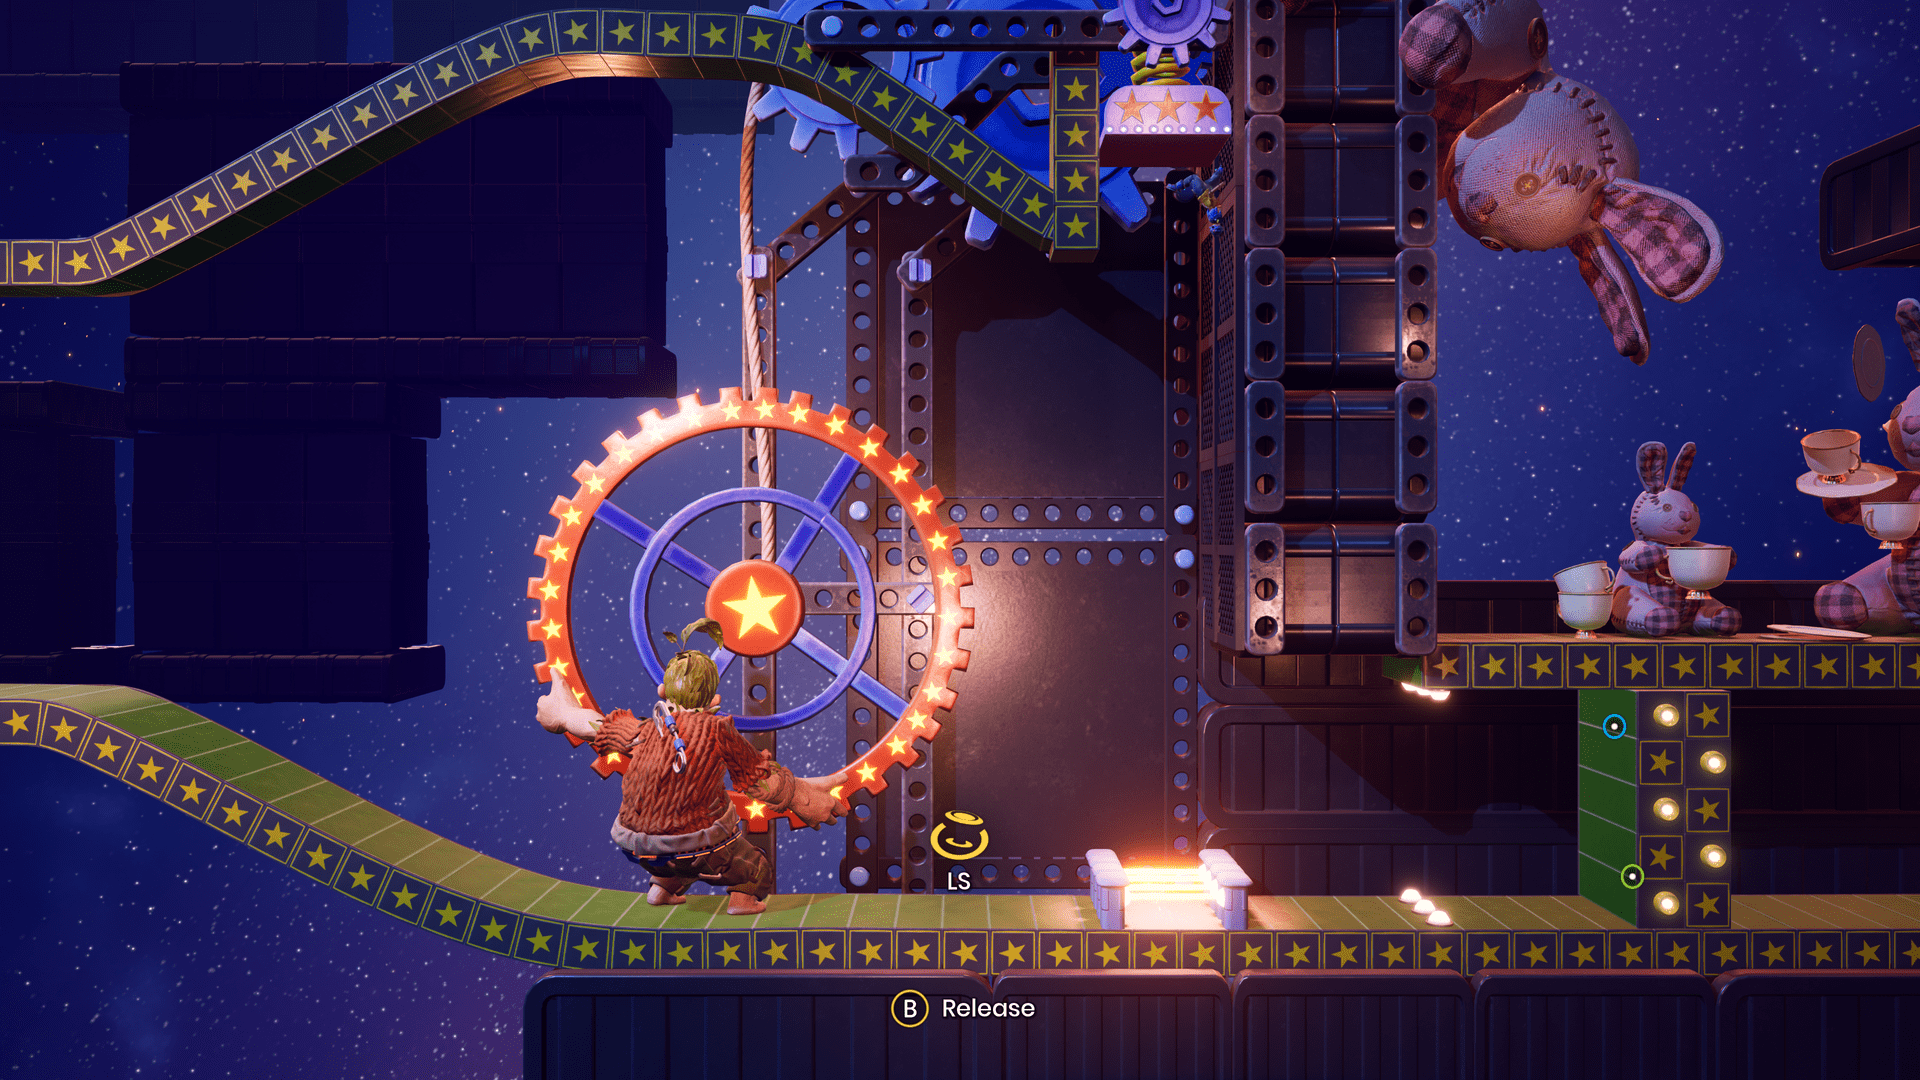
- Press R3/RS at any time to locate the other player. The game will require you and your Player 2 to split up often so being able to locate them quickly will come in handy.
- You can jump off walls and you’ll need to do so often to gain some extra height.
- When double jumping, don’t press A/X to jump a second time until the first jump reaches the very top of its arch. Many jumps will require a perfect double jump like this so it’s important to get the rhythm of this move down.
- Ground Pound: Jump up and press B/Circle while in the air to perform a ground pound. This is useful for breaking objects like glass and giving your partner a trampoline-like boost (when possible).
- May and Cody can stick to basically any wall in the game. Jump at the wall and keep holding that jump button after hitting the wall. This causes them to stick — they’ll slowly slide down however so do what you need to do quickly.
- If you’re at a puzzle, assuming that it will have Cody and May doing different things so both players should look around for two things that can be interacted with.
- If it looks like you need to crouch, you probably do. You can crouch by pressing B/Circle.
- If you’re struggling to figure out where to go, look for yellow. This game uses yellow to signpost to the player what needs to be done — yellow levers, yellow levers, yellow buttons, and more.
- Many of the boss fights in the game will have you using the boss’ own weapons against them. If you’re stuck trying to figure out how to damage a boss, try and find a way to throw their projectiles or deflect their attacks back to them.
- Listen for the taps of a tambourine — it means a minigame is nearby.
- There are 25 minigames in It Takes Two — they’re fun, quick, and easy so keep an eye out for them.
- For the most part, Green = Good and Red = Bad.
- The player with better aiming skills should play as Cody in this level and the player that’s better at platforming should play as May.
- If something looks breakable with a ground pound, it likely can be broken with a ground pound. Give it a go and see!
- Many things like doors can’t be opened unless both May and Cody interact with the door (or whatever it is blocking your way forward) at the same time, often by pressing Y/Triangle.
- If you see something like an empty can, there’s a good chance you’ll need to roll it to a specific area to continue forward. One player should get inside and roll it so that the other player can jump on top of it to advance forward.
- Treat this level like an actual shed: If you need to power on a saw, look for an electrical plug near an outlet. You might need to plug that plug into the outlet to power on the saw and proceed forward.
- If you see a vacuum hose, don’t be alarmed — either Cody or May will likely need to go into it.
- If you see a two-sided hose, there’s a good chance either Cody or May will need to aim one end so that the other player can go through the other end and fly out the end being aimed.
- If you see a red button, ground pound it.
- Fans are powered by air/wind, right? If you need to go through a fan, try and find a way to get the air/wind off the fan so that it stops spinning.
- When jumping over fans that blow air up, if the light on it is green, it will blow you up. If the light is red, it will suck you up and kill you. There’s often a switch nearby to change the air flow.
- When you jump into a funnel, be prepared for it to shoot you high into the air. So high, in fact, that you’ll be able to control where May or Cody float down too. Make sure to aim for the ground or the next funnel.
- Some puzzle will require you to suck things up — look around for (usually red) things to suck up.
- Water is bad — if you see water, you’ll die if you fall into it.
- Cody will eventually get a nail that he can shoot (well, even further along he’ll have three nails) and May will get a hammer. May can use the hammer to connect to nails that Cody has shot.
- Cody will need to shoot nails into things to make them stick — look for a circle to shoot a nail into in order to hold something in place.
- If there’s a glass bottle, May can break it with her hammer.
- If you see a yellow piece of wood, Cody will likely need to shoot a nail into it.
- If something is falling from the sky, keep an eye out for the shape of its shadow on the ground. Make sure you’re not standing on the shadow if you want to avoid damage.
- When riding the rails, you can dash forward by pressing X/Square and you can jump by pressing A/X. Make sure to either jump over blueish-white sparks coming down the rail or jump to a nearby rail by pressing RB/R1.
- Whoever has the most precise aim should play as May and whoever would prefer to shoot something more like a machine gun than a sniper rifle should play as Cody in this level.
- One of the new shticks of this level is a grappling hook that will follow you for the rest of the game. If you don’t know how to clear a gap, look up for a hook to grapple to.
- When you make it to the inside of the tree, you’ll be introduced to this level’s main shticks: a sap gun and a rocket launcher.
- May will receive a rocket launcher and Cody will receive a sap gun.
- Cody can weigh things down with his sap. This sap also sticks to whatever it’s shot at.
- May can shoot the sap with a rocket launcher to cause it to explode: this is often necessary to destroy obstacles in your way.
- If something looks too high up, Cody should shoot some sap at it to weight it down and make it reachable.
- If you see a red and white target, have May shoot it with a rocket launcher. This will cause it to spin or do something that will often help you move forward.
- To kill wasps, Cody must soak them with sap and then May must shoot them.
- If you see yellow sap somewhere already in the level, Cody should shoot more sap at it. There’s a good chance this will cause that sap to rise, which is often necessary to move forward.
- When riding rails, you’ll need to press RB/R1 to jump onto a different rail in order to dodge incoming rail carts.
- When fighting bosses, think about this level’s main mechanics: sap + rocket combo. Soak the boss in sap and then blow it up with a rocket.
- Take out larvae the same way you take out wasps.
- When swarms of wasps attack, load the entire swarm up with sap and have May shoot a rocket at the sap to destroy the swarm.
- When on the floating lid in the water, Cody can aim where the lid floats by shooting sap in the direction opposite of where he wants to go. May will need to shoot obstacles in the way.
- When flying, Cody will be in control of steering and May will be in control of shooting.
Rose’s Room is one of the biggest levels in the game and that’s because it’s actually more like two and a half levels. As such, we’ve broken down the level into its three main sections.
Please click or tap the links below to jump to different sections:
Pillow Fort
- This is a relatively short section of Rose’s Room so don’t get surprised when your time in the Pillow Fort ends quickly.
- Explore this level — there aren’t many puzzles to solve and it’s a quieter moment in this game.
- Keep an eye out for the minigame tambourine found early in this chapter of Rose’s Room.
- Interact with the lava lamps to change the goop inside. Who doesn’t love a good lava lamp?
- Interact with the constellation globes to witness Cody and May’s fascination with the stars. It’s actually quite cute.
- We won’t spoil it here, but if you’re a fan of Hazelight Studios games, explore every nook and cranny: there’s an excellent easter egg in the Pillow Fort.
Spaced Out
- The main schtick of this chapter will be shown to you almost immediately: Cody can shrink himself and embiggen himself and May can stick to walls (only after climbing up the yellow pathways along them).
- When you can’t figure out how to move forward, Cody should look around for a small door to go through. On that same note, May should look for a yellow pathway to stick to.
- If you see a robot, Cody will need to shrink all the way down and enter it through its side because inside is a battery that needs to be pushed by Cody in order to power on the robot. May will need to pull a lever on the front of the robot while Cody is pushing the battery in.
- This level is comprised of six different portals and each portal is a puzzle. These puzzles are all wholly unique so take into account everything you’ve done in the game thus far to solve them.
- If the portal puzzles have you stuck, head to IGN’s full walkthrough for this section of the game for thorough, step-by-step instructions with screenshots.
- Explore each of the portals thoroughly because there are a handful of easter eggs within that you won’t want to miss.
- If something is too high up, look for a circular bounce pad that looks like an inflatable pool. Jump on it and it should act like a trampoline and give your jump some extra height.
- If something looks like it can be compressed or if something looks like a button that’s quite large, a Cody full-embiggened can likely stand on it or ground pound it to lower it. This is often necessary for May to get onto a platform.
Hopscotch
- There are three minigames in this level so keep your eyes peeled for the tambourines floating about – you’ll hear them before you see them so listen for the taps.
- There’s not really a main schtick for this chapter — instead of using objects on your person do to thing, you’re going to be completing a lot of puzzles that require the utmost cooperation between Cody and May.
- If you’re struggling to figure out where to go or looking for a puzzle to solve, look for something colorful. The puzzles are often revealed by way of color.
- If something is blocking your way, there’s likely a button or something like that to ground pound nearby. The two are usually connected.
- If you see numbers on something, pay attention to it — many of the puzzles are number based and require you to do things in sequential order (and that’s where the “pay attention to numbers” thing comes in).
- When riding rails, one person is going to need to stay behind to control the blocks that the rail-rider will encounter on their trip.
- When you reach a school room-like setting, you’re going to need to do some homework and by homework, we mean a math challenge, a memory challenge, and a drawing challenge.
- When you reach a toy mouse, ignore it and head to the opposite direction of the room. Solving this room’s puzzle starts here.
- Many of the puzzles in this chapter are based on the entire room you’re in — look down, look up, and look all around to figure out what’s required of you.
- There’s a lot of toys to interact with in this chapter — board games, piggy banks, electronic books, and more. Have fun seeing what each does!
- When you have a fidget spinner, it might seem like you can fly with it, but it’s less flying and more gliding. This is to say that you should use the bounce pads to gain height while fidget spinning gliding.
- When you reach the kaleidoscope, pay attention to the walls as this is where the solution to the room’s puzzles can be found.
Train Station
[ad_2]