[ad_1]
Jump To:
How to Increase Stronghold Level and S Rank Rampages
- Complete Sub-Assignments
- Repel As Many Monsters As Possible
- Faint less than three times
- Slay the Apex or Boss
The key to S+ Ranking Rampage quests is completing sub-assignments. Completing these secondary objectives will help to increase your Stronghold Level throughout the quest, unlocking progressively stronger and better installations, too. Regardless of sub-assignments, repelling as many monsters as possible should be a main goal that consistently adds points to your rank and Stronghold Level. These tasks are indeed easier when in multiplayer.
How to Prep for a Rampage
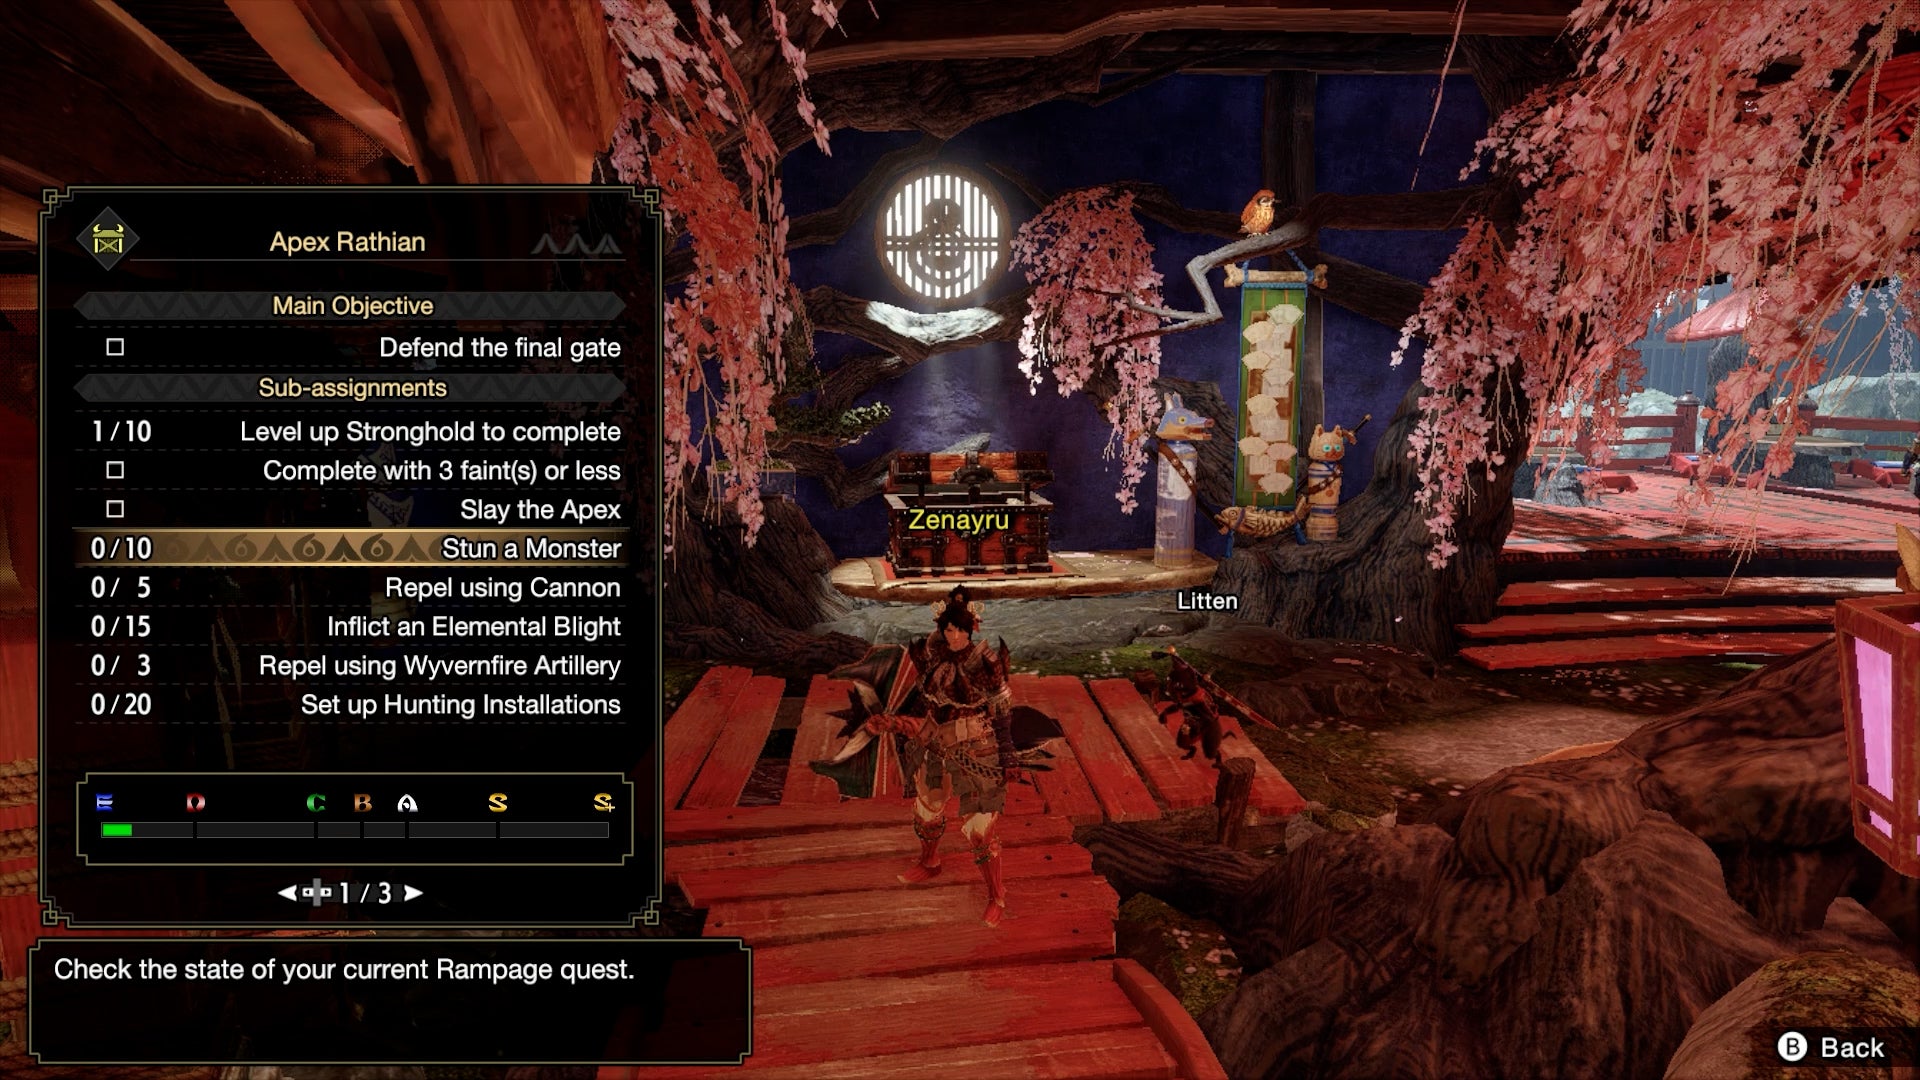
Check the Sub-Assignments under the mission’s Quest Info to see how heavily they’re weighted in the rank equation – and keep in mind, though Slay the Apex, Complete with 3 Faints or Less, and Defend the Gate are always sub-assignments, the rest change depending on the quest. Now, prep for the sub-assignments before leaving.
Rampage Equipment and Items
There aren’t many sub-assignments you can prepare for in advance, but you can prepare your equipment for the leader of the horde, which is the most dangerous enemy of all. Max Blight Resistance can be useful in general. The Mizutsune Armor set would work well against Apex Mizutsune, and max Poison Resistance is useful against Apex Rathian, which inflicts a powerful Noxious Poison.
As for items, dusts like Life Powder are helpful in group missions, and because a huge range of monsters invade, most curative items could be useful as well as an additional Farcaster to easily travel between areas. Unfortunately, Poison Smoke Bombs don’t work on Rampage monsters.
Palico or Palamutes
Bring a Palico instead of a Palamute for its superior support skills. Palicoes can also help with the sub-assignments to Inflict an Elemental Blight and Inflict a Status Ailment. Look for Palicoes that have the Assist or Gathering Type, as these occasionally have skills that inflict Blights, like Shock Tripper, or Ailments like Poison Purr-ison. Though, you can’t entirely rely on your Palico to do the whole job for you.
Note on Blights and Ailments
And as a quick reminder, Blights have “blight” in the name, and need to be inflicted by other monsters, Palicoes, Endemic Life, or special items. Ailments, like Poison, Paralysis, and Sleep, can be inflicted by your own weapons and Palicoes with certain skills. Blight and stun effects can be inflicted with the tools given to you during a Rampage Quest fairly easily, but you’ll definitely want to prepare to inflict Ailments, as options for those are more limited. And, unfortunately, Poison Smoke Bombs don’t work here.
Horde Incoming! Setting Up the Stronghold
At the beginning of a Rampage, and in-between hordes, you’ll have the opportunity to set up Installations. Setting up a certain number of these is often a Sub-Assignment.
Know that removing an installation and then Installing another one counts toward this Sub-Assignment – and you should be doing this often, because removing and reinstalling it doesn’t cost you anything and it refills its HP! If an installation is destroyed by a monster instead, it will take a while before a new one can be built there.
Which Installations to Use
Some Sub-Assignments instruct you to Repel monsters using certain installations. Pay attention to the specific wording of each sub-assignment, as they aren’t always clear about which installations you need to use. If it says “Repel using a Cannon”, you need to use the mountable cannon – not an Auto-Cannon – so be sure to install what you need for the task at hand.
Cooldown the Dragonator and Wyvernshot with Power Kilns
Don’t waste your prep time, either – once you’ve got a Dragonator or Splitting Wyvernshot, which are unlocked at Stronghold Level 3 and 5, respectively, you can reduce their cooldowns at the Power Kilns – and you can just hold A to continuously feed these flames, which reduce the cooldown for everything on the field. If you’re in a group, one of you might want to do this even while fighting monsters, because the Dragonator and Splitting Wyvern shot are just that powerful.
Limited: Dragonbait Warrior
The Dragonbait Warrior attracts monsters to it, and is then destroyed after suffering enough damage from monsters.
If put in the wrong place, do not uninstall a Dragonbait Warrior – this will remove your opportunity to use it. Instead, go to the correct spot and install it there. It will simply move.
Save the limited Dragonbait Warrior and put it right in front of a readied Dragonator when a big horde is incoming to target as many monsters as possible!
It can be used for the Splitting Wyvernshot as well: put a Dragonbait Warrior down in an open area when the Wyvernshot is ready to fire to hit as many monsters as possible.
Comboing these installations is a great way to repel monsters, and even occasionally clear Sub-Assignments. And yes, you have to fully repel monsters for it to count, not just land a hit.
Limited: warriors of kamura
Don’t install the Limited Warriors of Kamura Village in between hordes. These NPC’s generally unleash their first attack at the first sign of a monster, and are only around for a short period of time, so it’s better to wait for a group of monsters to already be present.
Prepare Other Strongholds
Lastly, in some Rampages, you move onto a second area – you’ll know from the quest details – where all installation limits and cooldowns are separate, so don’t feel like you need to save the limited installations for the end. Expect the boss monster to always easily break through the first gate fairly quickly, if there is a second area, so do spend time before the final horde to set that area up, assuming you succeed at keeping them repelled until then. Farcasters are particularly useful for easily moving between the two.
During the Rampage – Installation Tips
Once the monsters arrive, use the manual installations and the tools provided to you to the best of your ability.
Basic Installation Controls
Remember you can hold R to guard against attacks while using Installations, which also protects the installation.
Alternatively, press B and a direction to quickly dodge away, which you may want to do when targeted by poison.
Monster Icons: Target Advice
The game suggests focusing on the blue-icon monsters (Gate Crashers) that b-line it to the gates, but I like to knock the green-icon monsters (Targeter) out of the air first – they’re a huge pain that target installations. Focus on the red-icon monsters (Stalkers) last, or change your target to whatever is giving your team the most trouble.
When a blue icon appears below a monster’s type icon, that means it’s close to being repelled.
Ballista (Mountable)
You can easily Stun monsters by aiming a Ballista’s Crag Shot at its head – but keep in mind you can only reliably do this once per monster. Further along in the mission, stunning a monster may require two crag shots to the head, but by then you should have unlocked the upgrade to shoot two Crag Shots before initiating a cooldown.
Use the Retreat Shot to push back a monster. Good to use on a monster wailing on a gate, or on one that won’t stop attacking you.
Cannons (Mountable)
Inflict Thunderblight on a massive number of monsters at once with a Cannon’s Thunder Shot, which you can charge by holding down Y while continuing to shoot the normal cannons. Thunderblight has the added bonus of making it easier to stun monsters, too!
Hold the X button to charge a Piercing Shot, which will move through all monsters in a line, dealing damage to all. You can also charge this while launching normal cannons.
Bamboo Bomb (Auto)
Usually, install Bamboo Bombs up front and in-between hordes to get damage done immediately to incoming hordes on the floor. However, when this is a sub-assignment, install them next to monsters on their last breath (indicated by a blue icon below their type icon) to ensure a Bamboo Bomb is the final blow.
Wyvernfire Artillery (Auto)
Aim Wyvernfire Artillery installations after setting them by mounting them for a short moment. If a monster comes in contact with the red laser, they’ll get hit! Align them to cross the path of a high-trafficked area, like right before a gate.
These Auto Installations can also inflict Fireblight, which deals damage over time and causes monsters to flinch more easily.
Dropped Items: Elemental Barrel Bombs
Inflicting the same blight twice on one monster is difficult (unless it’s the boss), but luckily picking up the materials Monsters drop solves that. Some of the shiny objects dropped by monsters are elemental Barrel Bombs, which inflict blight on contact. You can also pick up Explosive Kunai, which deal a fair amount of damage.
Plant those elemental Barrel Bombs within a mass of monsters, and detonate it with a fearless attack or a kunai to affect as many monsters as possible. Of course, you can always set them next to Bamboo Bombs – but it’s easier to guarantee a multihit if you’re willing to get down and dirty. Or, use the Wirebug Dash and press Y with the bomb ready on your item bar to throw it down below you.
Limited: Warriors of Kamura
Most of the villagers do massive damage to the monsters around them at quite a long range, and we already suggested waiting to install these when there is already a group of monsters present, but know that Master Utsushi makes the surrounding monsters rideable. Wyvern Riding is another great opportunity to try to inflict ailments or blights, like with a Pukei-Pukei’s poison or Mizutsune’s waterblight (usually by performing a Mounted Punisher), so choose wisely after initiation Master Utsushi.
Iori and Buddies inflict a blight on surrounding monsters. The rest deal massive damage.
Counter Signal – What Does it Do?
The Counter Gong installation is what creates a Counter Signal. When activated, hat’s your queue to drop everything and repel monsters up-close and personally, as your weapons will do massive bonus damage.
Do not destroy a Counter Gong – you will not be able to rebuild it.
How strong the Counter Signal buffs your party is dependent on the level of your Stronghold.
List of Sub-Assignments and How to Complete Them
Most of this advice is detailed in the full guide above, but for quick reference, here is a list of Rampage sub-assignments for a quick reference.
- Defend the Final Gate: Don’t let monsters destroy the final gate. You can see its health on the screen. It also changes in appearance based on how damaged it is. Set Wyvernfire Artillery on either side of the final gate to easily inflict lots of auto-damage on monsters here.
- Faint Less than Three Times: Try defensive Dango Skills like Dango Moxie and Dango Defender. Wear appropriate armor and heal as usual.
- Slay the Apex: Bring weapons and armor specifically to counter the Apex monster. Use your own weapons when the Counter Signal is displayed.
- Repel Using a Weapons: Switch to using your own weapons when the Counter Signal is activated. Know that slaying the Apex / Boss with a weapon does not count toward this sub-assignment.
- Repel Using Wyvernfire Artillery: The Auto Wyvernfire Artillery (looks like a dragon that shoots fire) must land the last hit when repelling a monster. Remember to aim these after setting them up – like crisscrossing in the path before a gate.
- Repel using Machine Cannon: These are mountable installations that are unlocked after hitting a certain level of Stronghold, and deal massive damage. Inflict the final shot with a mountable Machine Cannon.
- Repel using Ballista: Inflict the final shot with a mountable Ballista when repelling a monster.
- Repel using Cannon: Inflict the final shot with a mountable Cannon when repelling a monster.
- Inflict a Status Ailment: Bring a Palico with an attack that deals Poison or Paralysis, and equip it with a weapon with that status ailment as well. Equip your hunter with a weapon with a status ailment. (We find Poison to be easiest to inflict, Paralysis next, Sleep the most difficult.) Choose monsters that inflict status ailments, like Wroggi or Pukei-Pukei for poison, and unleash Mounted Punishers on other monsters.
- Inflict an Elemental Blight: These are Fireblight, Waterblight, and Thunderblight, as the most common. Cannons inflict Thunderblight, and Wyvernfire Artillery inflicts Fireblight. Use the elemental barrel bombs that monsters drop on the ground (shiny material) in groups. Bring a Palico with a skill that inflicts a blight.
- Stun a Monster: Use the Ballista’s Crag Shot at a monster’s head to stun it. Sometimes requires two Crag Shots to succeed. Can only reliably stun each monster once.
- Gather Dropped Materials: Pick up the shiny materials that scatter on the floor during the rampage.
- Village Defender Repels a Monster: The Auto Canon or Auto Ballista (Village Defenders) must land the final shot to repel a monster.
- Set up Hunting Installations: Breaking down and rebuilding a hunting installation counts towards this sub-assignment. Make sure to do this often (it costs nothing), especially when there’s downtime between hordes.
- Repel Using Bamboo Bomb: Usually, install Bamboo Bombs up front to get damage done immediately. However, when this is a sub-assignment, install them next to monsters on their last breath (indicated by a blue icon below their type icon) to ensure a Bamboo Bomb is the final blow.
- Use a Dragonator or S. Wyvernshot: Repel a monster using these. You must repel the number of monsters indicated, which is why we recommend using these in combination with a Dragonbait Warrior to group monsters together to make for easy targets.
[ad_2]