[ad_1]
This section of IGN’s walkthrough will guide you through how to construct a base, provide building tips, and much more.
Looking for something specific? Click the links below to jump to…
Start With a Proper Foundation
It may seem obvious when it comes to constructing a home, but having a solid foundation is essential. That’s no different in Valheim, where flat, solid ground is key to the longevity of your home.
To begin building, you’ll need to craft a Hammer from 3 wood and 2 stone.
You’ll also need to place a Workbench which will allow you to access the building menu. Check out our guide below if you need help with how to craft and use the Workbench.
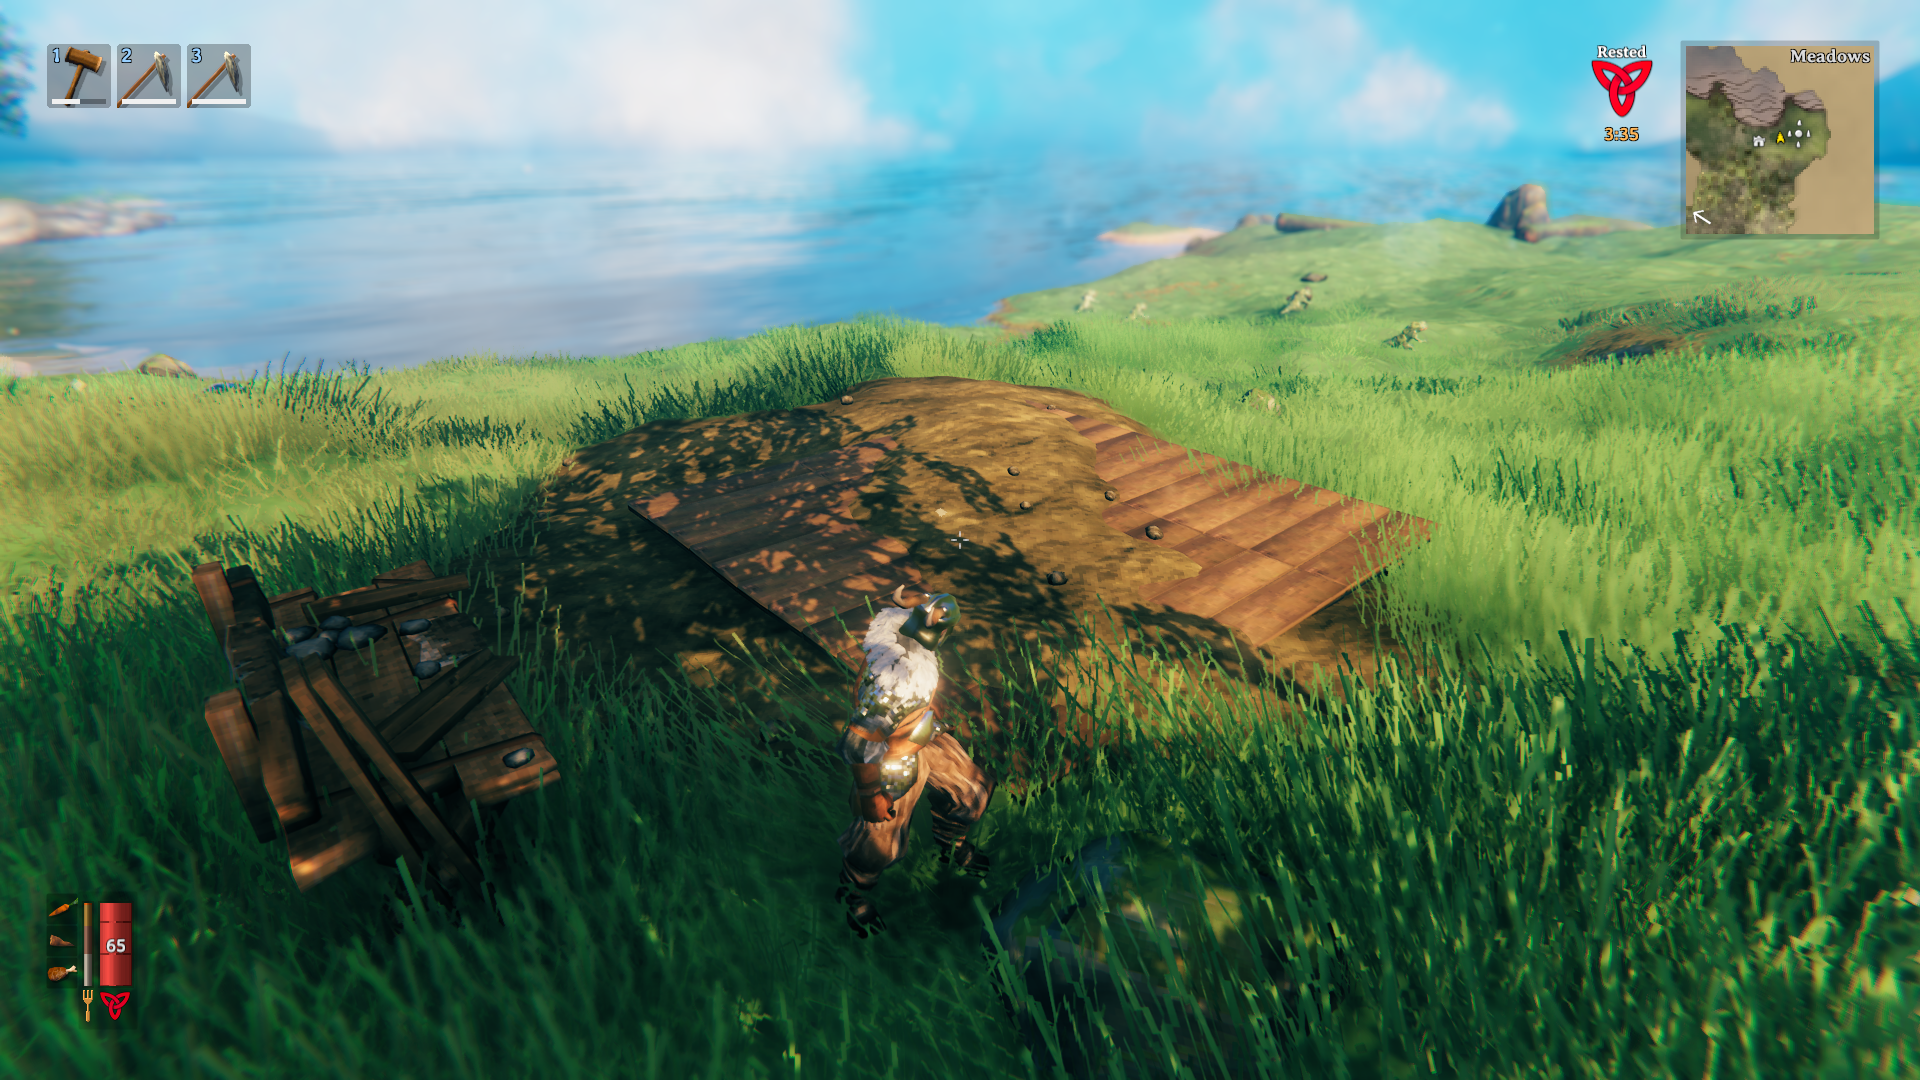
Find Flat Terrain
Since the world of Valheim is procedurally generated, no two games are the same. It may take some exploring to find some relatively flat ground early on, but this will pay off in the long run.
Once you craft the Hoe, you’ll be able to level and raise ground as needed.
Place Floor Tiles
Start your home by placing wooden floor tiles. This not only looks nice, it’s also functional and ensures the ground you’re building on is level, which impacts the structural support of your home. While your first home is likely not going to be your last in Valheim, it’s still good to practice this habit early on as it will make base building much easier as you learn more.
Utilize Snap Building
While Valheim offers limitless combinations for what you can build, it may seem a bit overwhelming at first. Like many other survival games, constructing homes requires piecing together individual pieces. Thankfully, Valheim has a system that lets you to easily connect pieces by “snapping” the edges together.
This allows your structure to be more uniform in its appearance with everything lined up. It also ensures better structural integrity, meaning you’ll be able to build taller and wider without the risk of pieces collapsing.
Note: If you prefer a more “freeform” building option you can hold the Shift key to toggle snapping off, allowing you to manipulate pieces without attaching them to a grid.
For pieces to snap together, you simply need to rotate the intended piece with the scroll wheel to line it up and it should automatically snap to the nearest pieces as it gets close.
Understanding the Structural Support System
Valheim utilizes a structural support system that may be overlooked at first glance. However, understanding this system is key to proper base building.
When attaching pieces you may notice that some sections change color prior to placing the new piece. Most of the time, they should be blue, indicating the structure has a solid foundation to continue building upon.
However, some pieces may become green, yellow, orange, or red, depending on how much structural integrity there is.
When pieces are green, this indicates strong support. You can safely build.
Pieces that are yellow indicate the structure is weakening. You can build here, but unless you address the foundational issue, it may not be able to support much weight.
Pieces that are orange indicate a very weak structure. Place pieces here at your own risk, as they may crumble if much more weight is placed upon them.
Pieces that are red indicate structural failure and cannot be built upon. If you attach something to a red piece, it will immediately crumble.
As stated above, a strong foundation is extremely important when building a home. This will ensure you can build your base without the fear of it literally crumbling under its own weight.
How to Level Terrain
One way to ensure a stable foundation is to start building upon level ground. Thankfully, Valheim provides a tool to help with just that. You can craft a Hoe at your Workbench with 5 wood and 2 stone.
The Hoe allows you to level ground as long as you have stamina available. It’s indicated by a series of radiating yellow circles on ground that can be leveled.
When leveling ground, it brings the height down to your character’s feet. So, the easiest way to ensure the ground is perfectly level is to look down at the ground and level as you walk forward.
You can also raise ground which requires 4 stone and a Workbench nearby each time you use it. This is great if the ground is too low and you need to bring it up to a certain height.
How to Repair Structures and Building Decay
Over time, your structures will begin to decay. This is accelerated by weather (like rain), which brings the overall health of each impacted piece down to 50%. Enemies can also attack your base, causing damage to the individual pieces, too.
You can view the overall health of each piece by equipping your Hammer and hovering over a given piece. This is indicated by a small vertical yellow heath bar.
As pieces decay or sustain damage, they begin to take on a weathered look. This may result in a disheveled appearance or discoloration.
Thankfully, you can repair items easily (and for free!) by equipping your Hammer and selecting the repair option in the top left corner of any of the Hammer categories.
Once you’ve selected the repair option, simply left mouse click on the affected item. If it’s able to be repaired you only need to click it once to bring it back up to full health. If it can’t be repaired, nothing will happen.
It’s a great idea to regularly repair items around your base to ensure they aren’t destroyed.
How to Build and Ventilate Indoor Fires
Fire is essential for keeping warm and is required to sleep at night. While it’s easy to place a fire outside your home, sometimes it’s easier to have a fire burning indoors. This protects the fire from the weather and allows you to cook indoors. To build a fire indoors you’ll need to remove a floor tile. Fires can only be built on the natural ground.However, with fire comes smoke. If there’s nowhere for it to go, eventually your home will become filled with smoke which obstructs your vision and can eventually kill you.An easy remedy is to build a chimney to guide the smoke out of your home, or simply leave a hole in the roof for the smoke to travel through.
How to Stack Chests
Inventory space is limited in Valheim and since players can’t expand character storage, you’ll need somewhere to place your hard-earned items. Thankfully, this is what chests are for.
The first chest you’ll be able to build can hold 10 items, while the Reinforced Chest can hold up to 18 items. But, each chest takes up valuable floor space and you’ll quickly find that your home can’t keep up. But, before you tear down your home and build a bigger one, there is a way to stack chests.
It’s not as simple as just placing the chest on top of one another, though. Because chests can only be placed on ground or floor tiles, you’ll need to get a bit creative.
Begin by placing your chest on the floor. Then, open up your building menu and place a 1×1 floor tile just above the chest. You can hold the left shift key to temporarily disable snapping, which makes placement a bit easier.
Next, place a chest on top of the floor tile.
Rinse and repeat as many times as needed until your desired amount of stacked chests.
Enjoy all the extra space for activities you have now!
Defending Your Base
It won’t be long until enemies begin assaulting your base and trying to destroy all of your hard work. While no defense is perfect, most will delay enemies long enough for you to take them all out before they make it to your home.The easiest way to secure your base is to build a wall around it, either with the Stakewall early on or stone walls later in the game.
Another simple base defense idea is to dig a trench around the perimeter of your base using a Pickaxe. Some enemy AI aren’t smart enough to navigate through these trenches, so take advantage of this tip while you can!
How to Build With Stone
As you progress in the game and enemies get stronger, you’ll soon need a more fortified base. Once you obtain iron and craft a Stonecutter you’ll have the ability to start building with stone and craft some more advanced bases.
This includes various stone walls, stone pillars, stone archways, stone stairs, and stone floor.
In order to unlock Stone, you will need to acquire a Stone Cutter. Before you can build a Stone Cutter though, we highly recommend that you defeat the Valheim’s second boss, The Elder, who can be found within the Swamp biome.
While it isn’t a requirement, defeating The Elder will reward you with a Swamp Key which can be used to unlock the gates to Sunken Crypts. Inside the Sunken Crypts, you will normally find plenty of Muddy Scrap Piles as they block the doorways throughout the crypt. Don’t be surprised to find other random items inside these piles, as you are not guaranteed to find and receive Scrap Iron every time. Sunken Crypts aren’t the only way to find Scrap Iron, so check out our full guide to How to Find Copper, Iron, Tin, Silver, Obsidian, and Black Metal Scraps for even more information.
Once you have enough Iron, return to your base and smelt two Iron Bars. Along with the two Iron bars, you will also require x10 Wood and x4 Stone. With the required materials, use your Hammer and craft the Stone Cutter.
The Stone Cutter will allow you to build stone walls, stone floors, stone pillars, stone arches, and even stone stairs. To craft even more stone related items, consider crafting a Sharpening Stone can be used to make Grinding Wheel for your Forge upgrade.
Important Crafting Stations
Building isn’t the only important thing in Valheim, though. In order to progress to the endgame you’ll need powerful gear and items. This requires making specific crafting stations.
Some crafting stations can be upgraded to unlock additional recipes. Upgrades can be acquired in any order depending on which materials you’ve discovered.
Here are some guides to help you unlock specific crafting stations:
Check out the table below for information on each crafting station.
[ad_2]